How to Enable OverClock on Your AOC Gaming Monitor
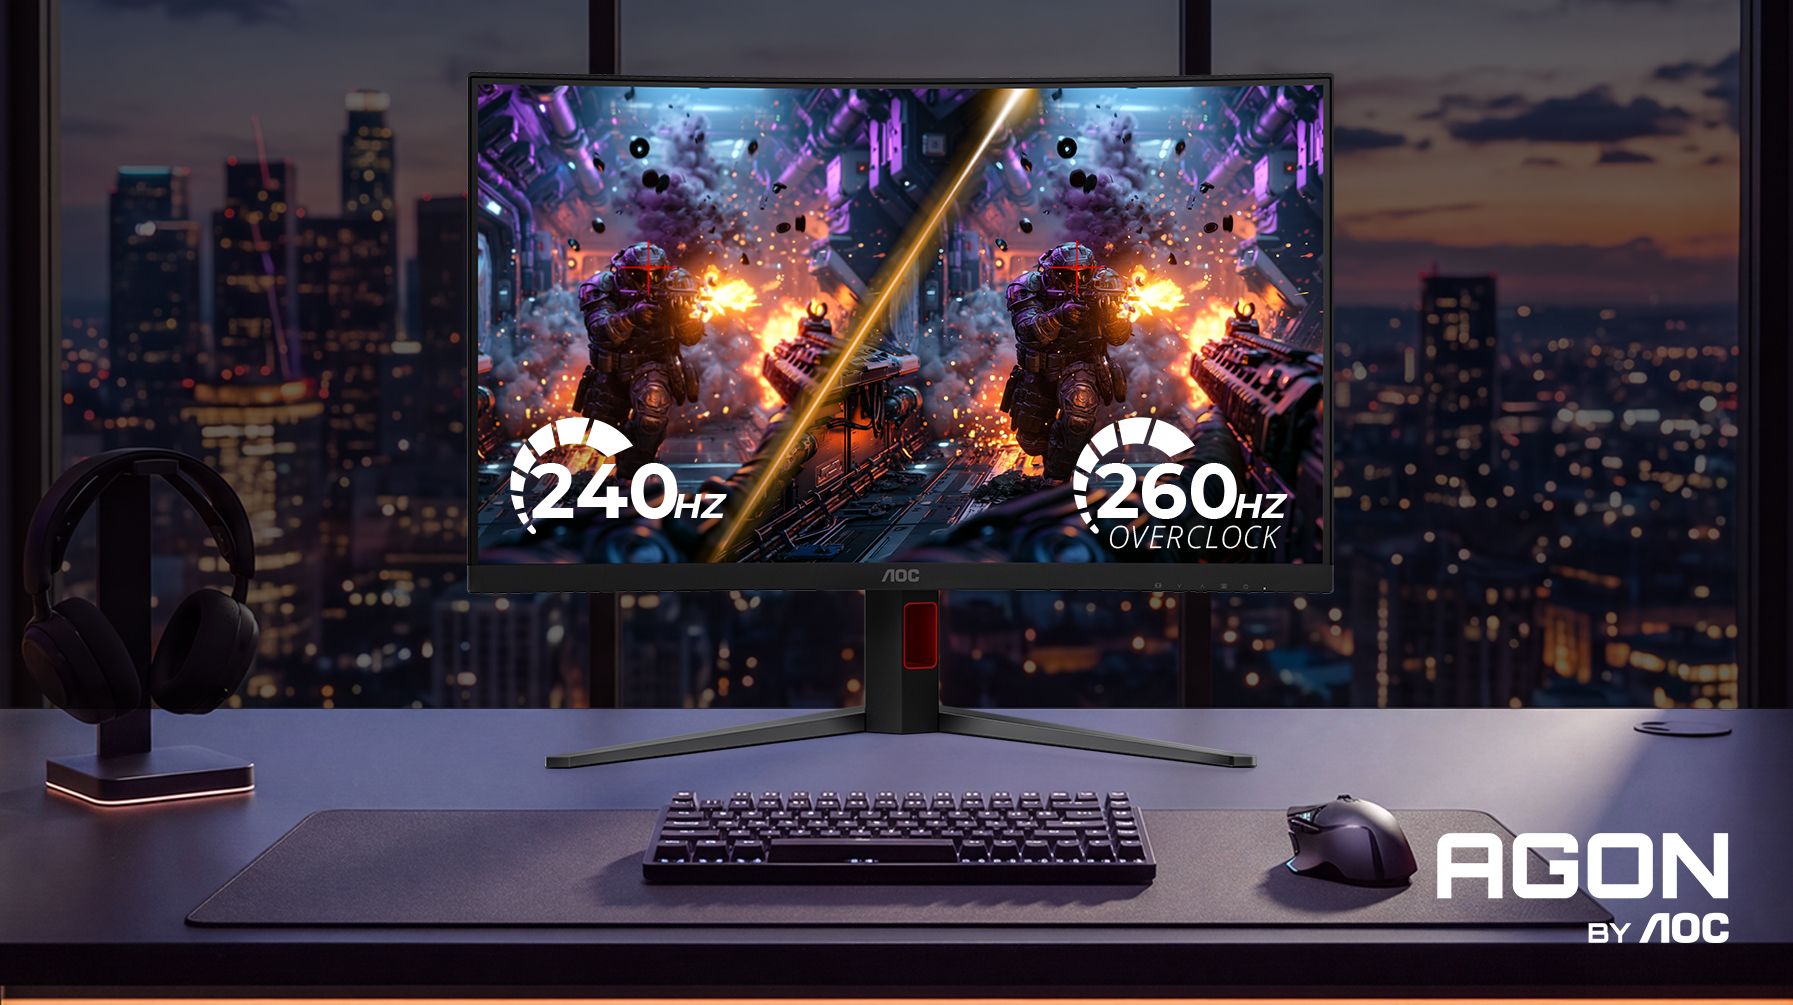
Many AOC Gaming and AGON by AOC monitors support OverClock*, allowing you to unlock a higher refresh rate for an even smoother gaming experience.
By default, your monitor runs at its native refresh rate. Enabling OverClock unlocks the maximum refresh rate supported by your monitor.
Before You Start
Before enabling OverClock, keep the following in mind:
- OverClock is an official AOC feature and does not affect your monitor warranty.
- OverClock must first be enabled in the monitor's OSD (On-Screen Display).
- Until it is enabled, Windows and your graphics driver will only show the monitor's native refresh rate.
- The maximum refresh rate is available only at the supported resolution for your monitor.
- If you experience display instability, simply switch back to the monitor's native refresh rate.
Enable and Apply OverClock
Using the monitor buttons, open the On-Screen Display (OSD) and navigate to Game Settings → OverClock → On.
Once OverClock is enabled, your monitor will support its maximum available refresh rate.
To activate it, open your operating system or graphics driver settings and select the highest available refresh rate.

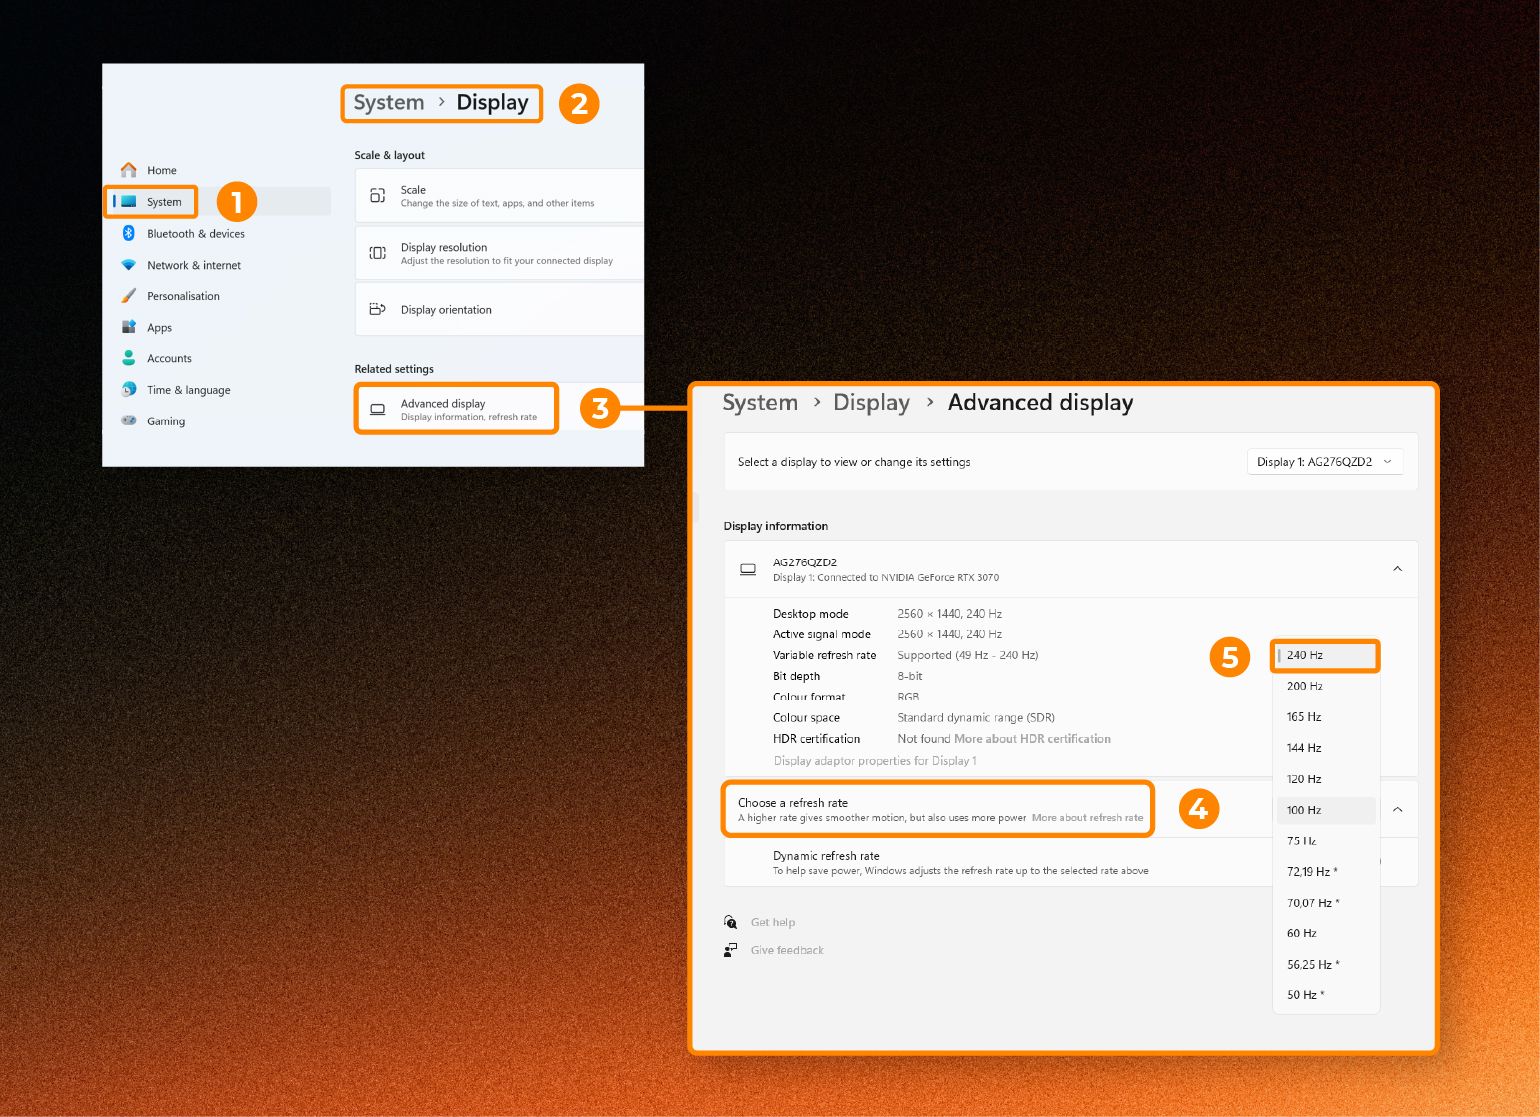
Apply the Refresh Rate in Windows
- Open Settings.
- Go to System → Display → Advanced display.
- Under Choose a refresh rate, select the highest available value.
If OverClock has been enabled successfully, you'll now see the maximum refresh rate available for your monitor.
Apply the Refresh Rate in NVIDIA Control Panel
If you're using an NVIDIA graphics card:
- Open NVIDIA Control Panel.
- Navigate to Display → Change Resolution.
- Select your AOC monitor.
- Choose the monitor's native resolution.
- Select the highest available refresh rate.
- Click Apply.
The new OverClock refresh rate will now be active.

Can't See the Higher Refresh Rate?
If you don't see the higher refresh rate after enabling OverClock, first make sure that OverClock is turned on in the monitor's OSD and that you're using the monitor's native resolution. If the higher refresh rate is still unavailable, try restarting your PC or reconnecting your display cable. If you experience flickering or other display issues after enabling OverClock, simply switch back to the monitor's native refresh rate in Windows or the NVIDIA Control Panel.
Enjoy Maximum Performance
That's it! Once OverClock is enabled and you've selected the higher refresh rate, your AOC Gaming monitor is ready to deliver smoother motion, greater responsiveness, and the best possible gaming experience.
*OverClock is available only on selected AOC Gaming and AGON by AOC models. Please refer to your monitor's product page or user manual to confirm whether your model supports this feature.